AquaSim installation Guide
Last reviewed version: 2.17.1This guide includes the following topics:
- Download installation files
- Individual installation
- Register computer ID and Activation key (for AquaSim Trial version, this section is not required)
1 Download installation files
Upon agreement between the End User and Aquastructures, a link to installation files is provided per email. For installation of AquaSim onto your designated computer, the link to installation files should be downloaded, and the subsequent steps followed.

2 Individual installation
AquaSim is installed locally on your computer, access to your local Documents-folder is therefore required.
2.1 Firewall
If the downloaded installation files are blocked, or suggested removed by your firewall, please accept the files as ‘secure’ using the alternative options.
2.2 Start the installation wizard

2.3 Click yourself forward with ‘Next’

2.4 Custom installation
Depending on your needs and other prerequisites, Custom installation can be selected. This section describes custom installation of AquaSim, where the allowed memory usage in AquaView is increased.
2.4.1 Select ‘Custom Installation’ > Next

2.4.2 Select the folder where AquaSim should be installed, default is Program files > Next

2.4.3 Select the components to be installed > Next

2.4.4 Select, or deselect, options for shortcuts > Next

2.4.5 Allocate applicable memory (RAM) to AquaView > Next

2.4.6 Select files to be associated with the AquaSim software package > Next

2.4.7 The installation starts

2.4.8 Change log, informative > Next

2.4.9 Register user information, optional > Next

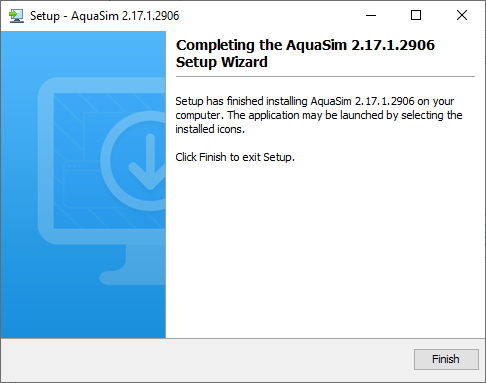
2.4.10 Finish installation

2.5 Full installation
The full installation will install AquaSim with predefined options. Recommended for basic users.
2.5.1 Select ‘Full installation’ > Next

2.5.2 Select the folder where AquaSim should be installed, default is Program files. If you have other preferences, this can be changed by selecting Browse..

2.5.3 Select files to be associated with the AquaSim software package > Next

2.5.4 Installation starts

2.5.5 Change log, informative > Next

2.5.6 Register user information, optional > Next

2.5.7 Finish installation

3 Register computer ID and Activation key
You must register the Activation key before the AquaSim package can be fully operated.
3.1 Load AquaEdit from the Start menu to start the registration process

3.2 Computer ID
Upon loading of AquaEdit (the pre-processor) a window for computer ID and Activation key appears.

3.3 Prerequisites for Activation key
To receive an activation key, it is assumed that there is a valid license agreement, and that invoice has been settled.
3.4 Get the Activation key
Email the Computer ID, along with name and email of End User, to support(a)aquastructures.no. The Activation key will be returned to the specified End User email address.
3.5 Register
Register the Activation key in the ‘Enter license information’ window, select Verify.
3.6 Check for updated Solver
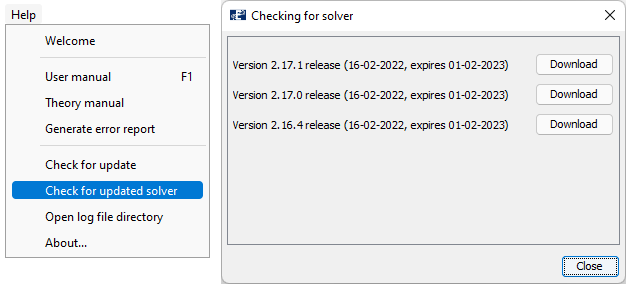
The solver is the calculation engine of AquaSim and is required to be able to perform analyses. To acquire this, please select Help > Check for updated solver in AquaEdit. Then download the desired version.

3.7 Finish
Your AquaSim software package is now ready for use.